 English
 Español
 Deutsch
 中文简体
中文简体

Phone:+86-13906742187
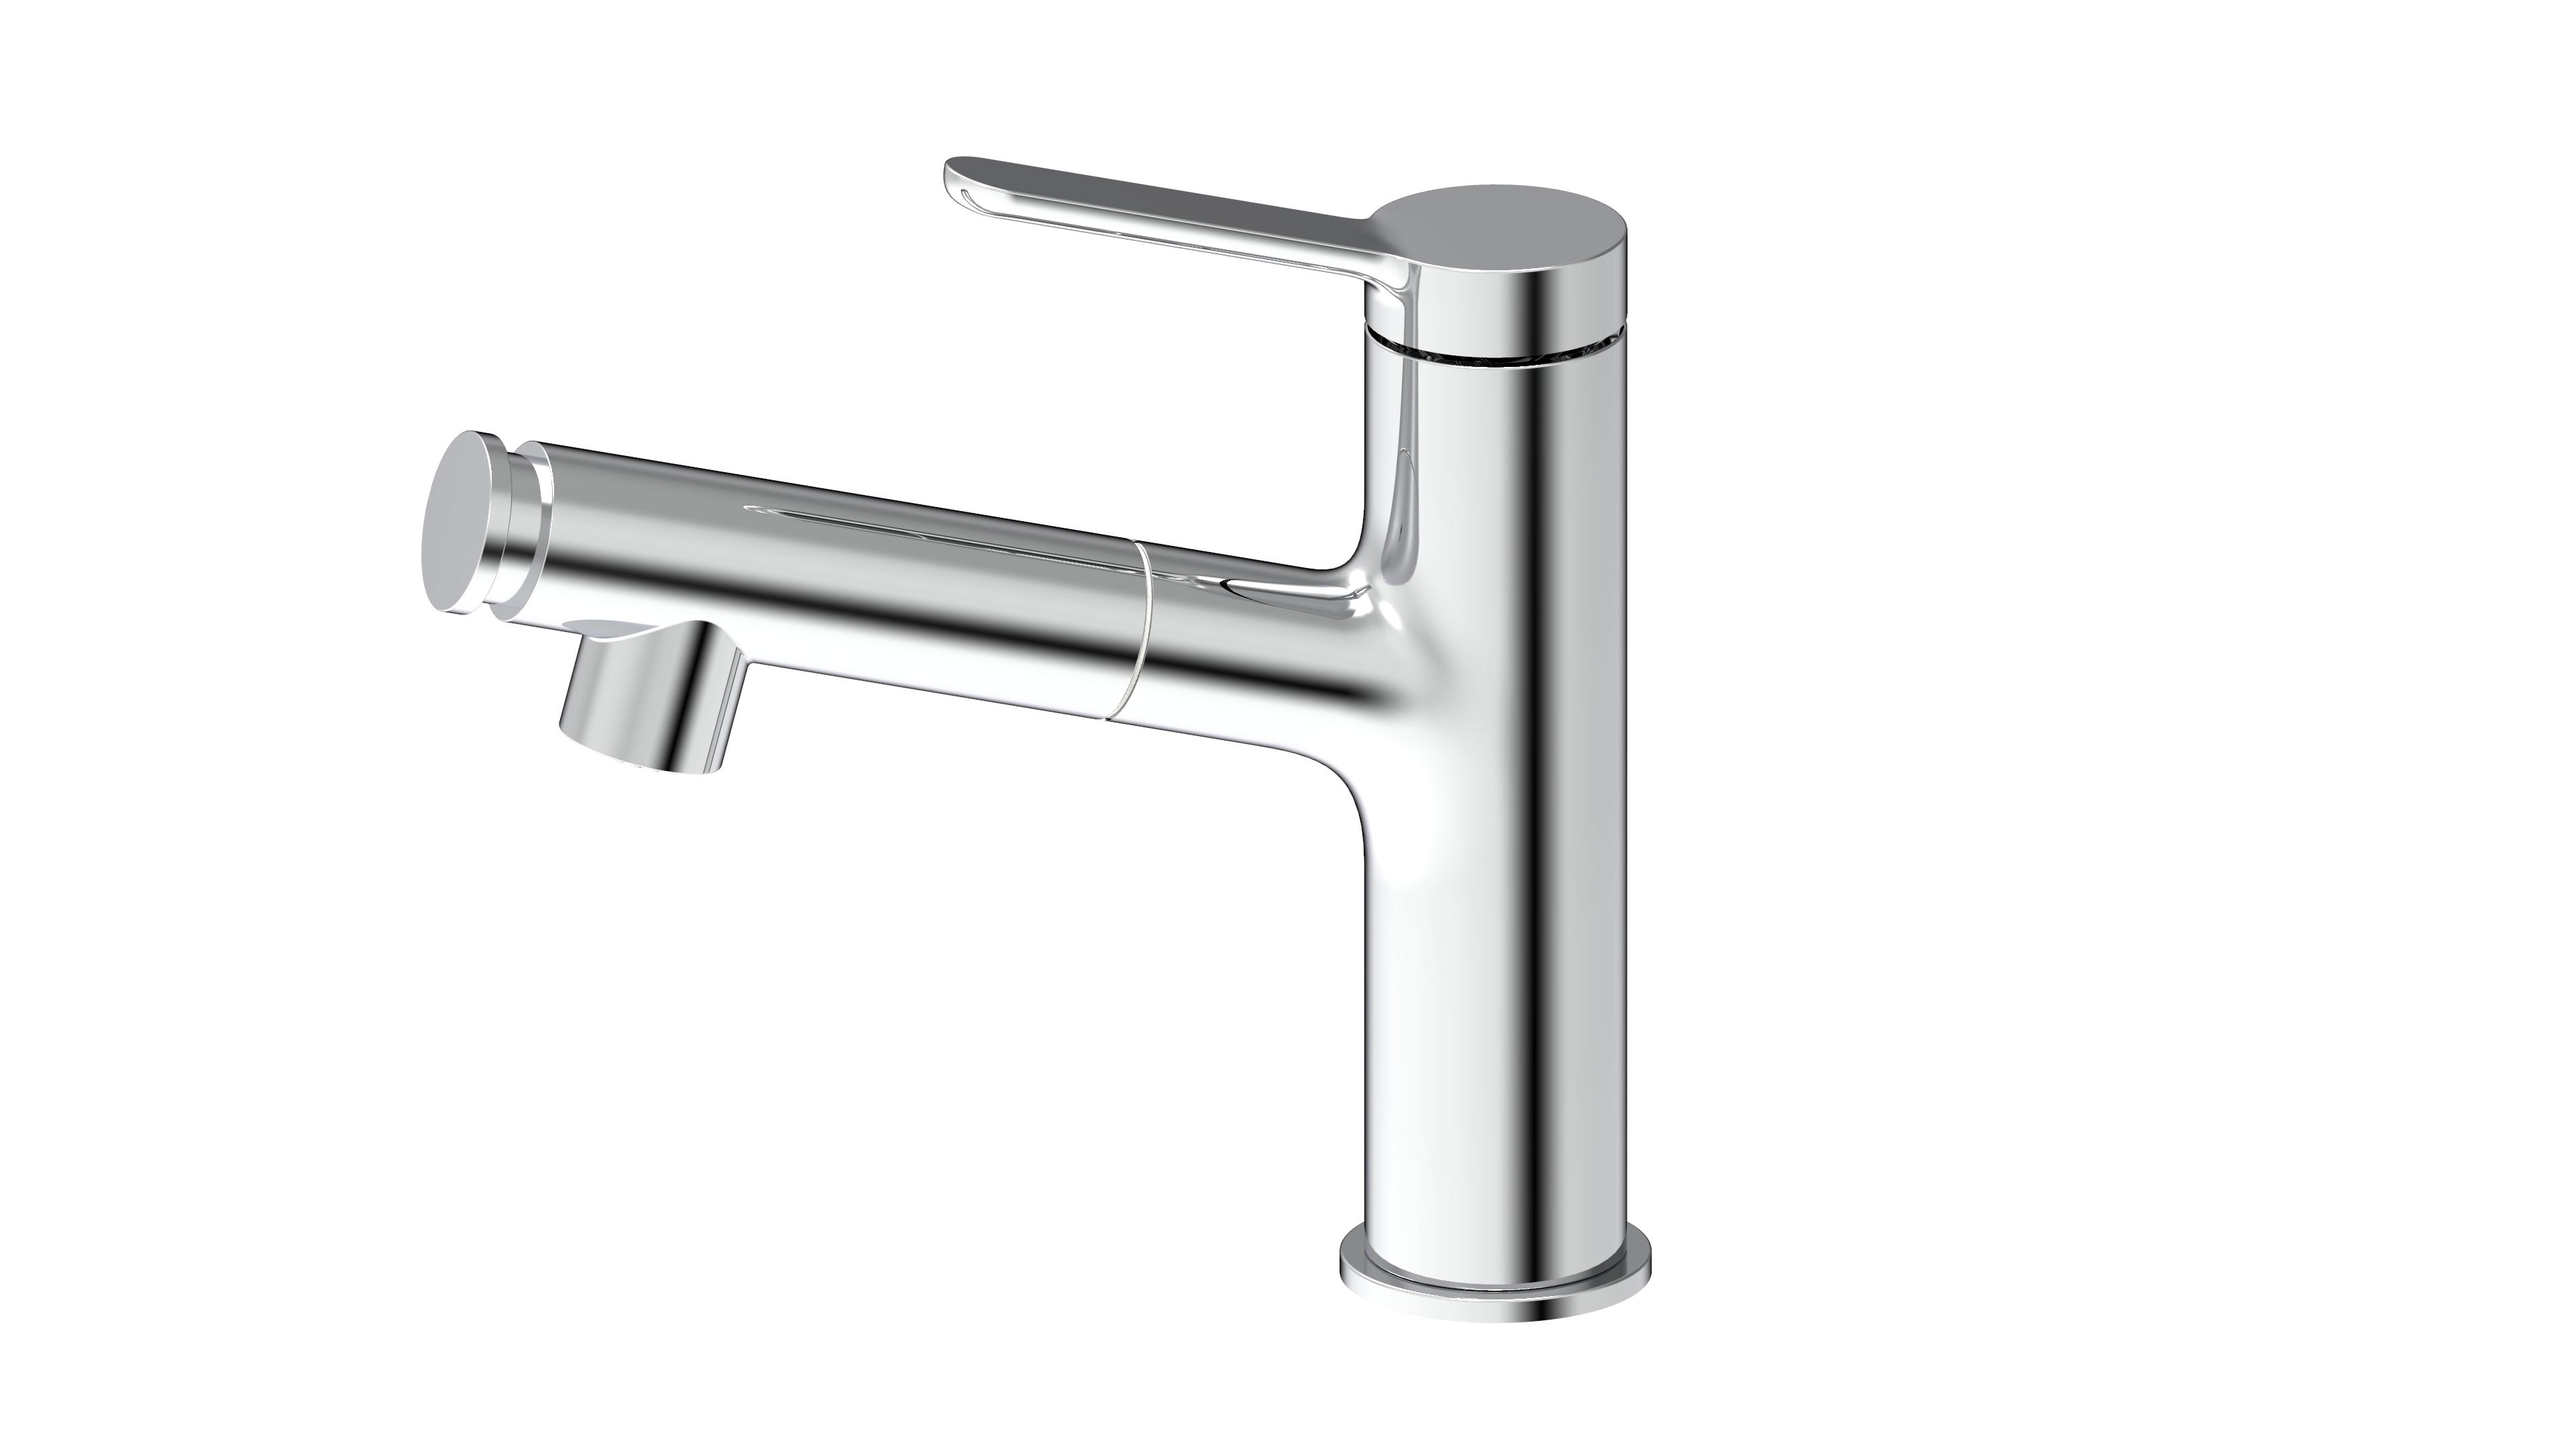
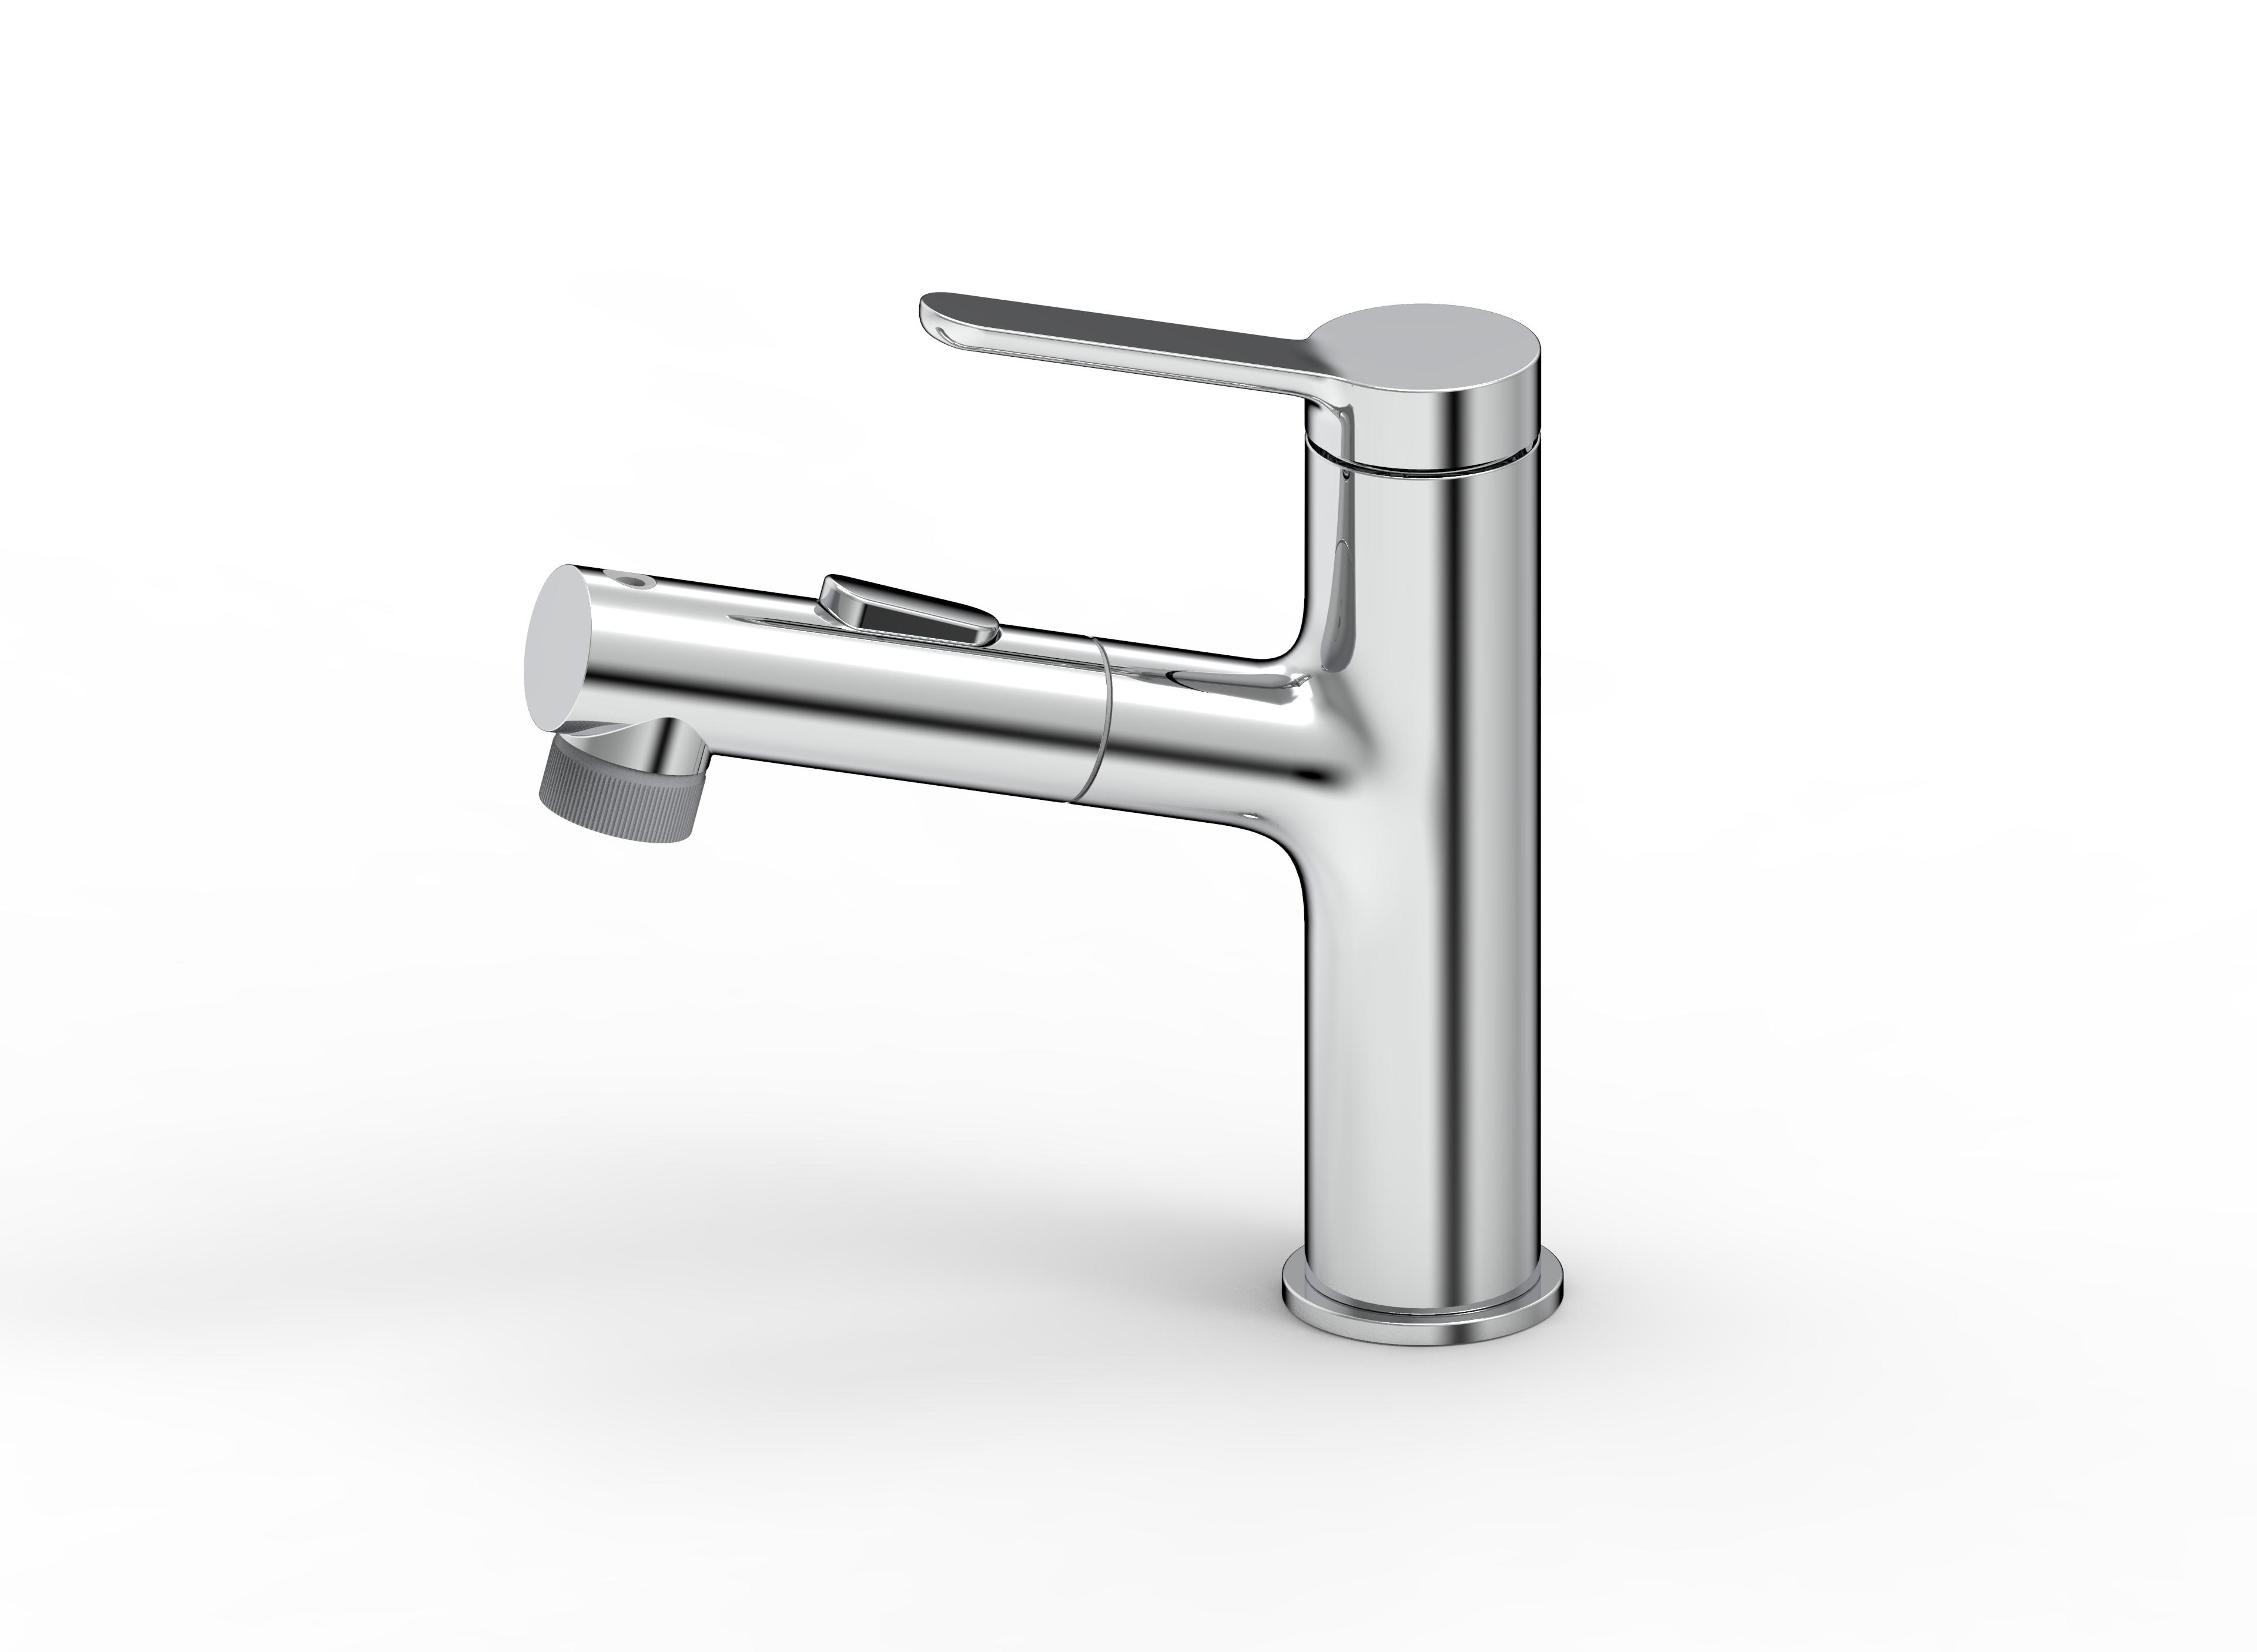
Installing a brass basin faucet is a relatively straightforward process that can be completed by most individuals with some basic plumbing skills. Here are the steps involved in installing a brass basin faucet:
Tools and Materials Needed:
Brass basin faucet
Adjustable wrench
Plumber's tape (Teflon tape)
Basin wrench
Adjustable pliers
Screwdriver
Bucket or towels (for any water spills)
Towels or rags (for cleaning and wiping surfaces)
Installation Steps:
Prepare the Work Area:
Turn off the water supply to the basin. This is usually done by turning off the water valves located under the sink. Ensure that the water is completely shut off.
Remove the Old Faucet (if applicable):
If you're replacing an old faucet, you'll need to disconnect it first. Use an adjustable wrench to loosen and remove the nuts securing the old faucet to the water supply lines. Then, lift the old faucet from the sink.
Clean the Sink:
Clean the area where the old faucet was attached. Remove any old putty or caulk and ensure that the surface is smooth and clean.
Assemble the New Faucet:
Follow the manufacturer's instructions to assemble the new brass basin faucet. Typically, this involves attaching handles, spout, and any other components.
Apply Plumber's Tape:
Wrap a few layers of plumber's tape (Teflon tape) clockwise around the threads of the faucet where it will connect to the water supply lines. This will help create a watertight seal.
Position the Faucet:
Insert the faucet assembly through the holes in the sink or countertop. Make sure the faucet is properly aligned and centered over the drain hole.
Secure the Faucet:
From underneath the sink, use a basin wrench to tighten the mounting nuts onto the faucet tailpieces. Be sure not to overtighten to avoid damaging the sink or faucet.
Connect the Water Supply Lines:
Connect the hot and cold water supply lines to the corresponding inlets on the faucet. Use an adjustable wrench to secure the connections. Be careful not to overtighten, as brass fittings can be easily damaged.
Check for Leaks:
Slowly turn on the water supply valves, and check for any leaks around the connections. If you see any leaks, gently tighten the connections until they stop. Wipe away any excess water.
Test the Faucet:
Turn on the faucet to ensure that both hot and cold water flow properly. Check for any unusual noises, leaks, or drips.
Finish Installation:
If the faucet comes with a pop-up drain assembly, follow the manufacturer's instructions to install it.
Seal Around the Faucet:
Apply a bead of silicone caulk around the base of the faucet where it meets the sink to create a waterproof seal. Smooth the caulk with your finger or a caulk tool.
Clean and Polish:
Use a clean, damp cloth to wipe away any excess caulk, and then dry the faucet and sink surface to give it a polished look.
That's it! You've successfully installed a brass basin faucet. Remember to follow safety guidelines, and if you're unsure about any step, consult a professional plumber for assistance.


